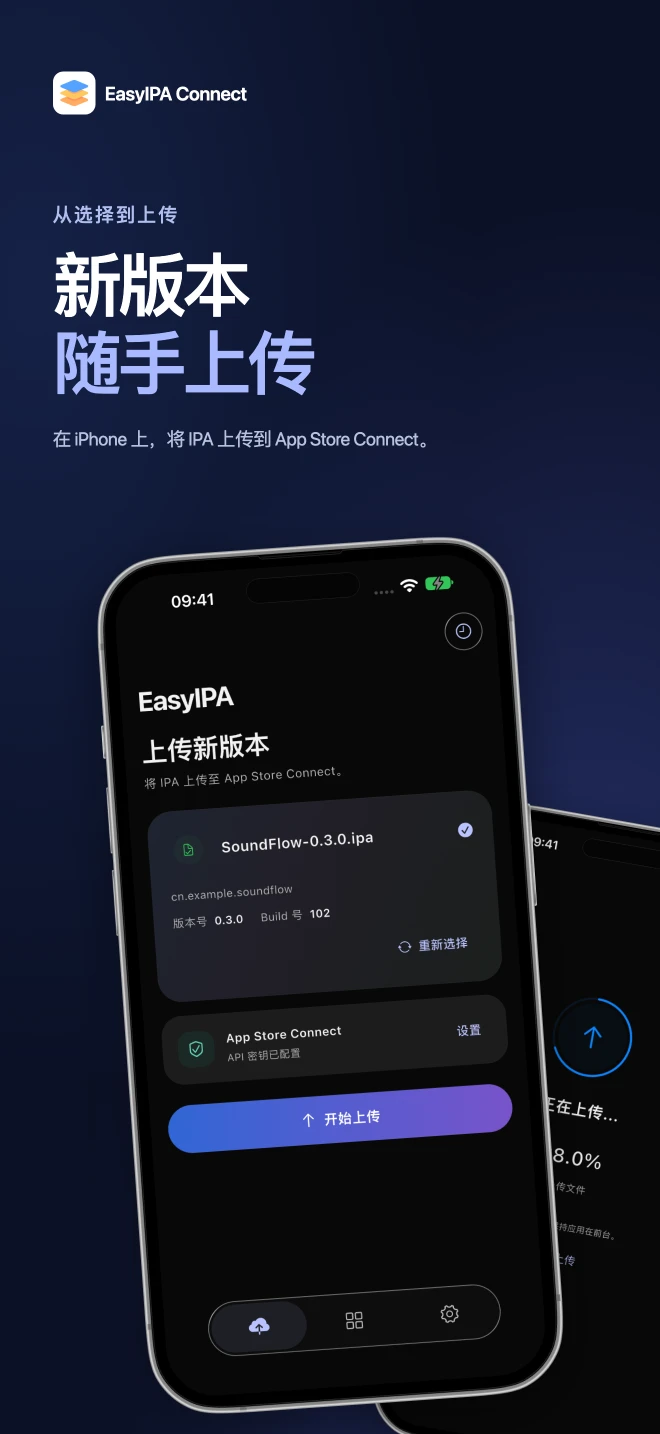
Save the release package to Files
Download the complete IPA supplied by your developer to Files on your iPhone. Confirm App Store distribution and obtain the Bundle ID, version and build number. EasyIPA uploads an existing package; selecting it does not compile or sign it.
Select and check the file
Install EasyIPA for iOS and select the IPA on the upload screen. Check the displayed filename, Bundle ID, version and build number. Reselect if needed. The image below is the existing iPhone product presentation; your installed version may look different.
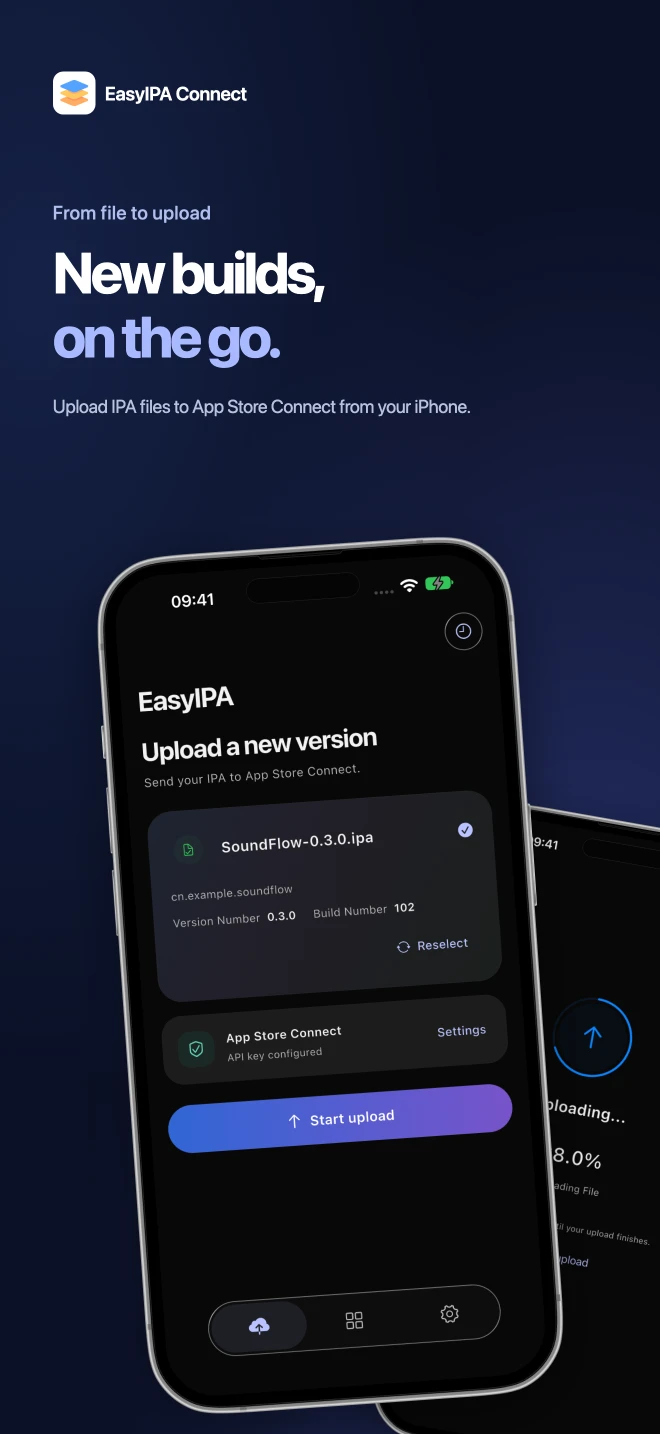
Existing iPhone product presentation from the website. The installed version may differ.
- After choosing the IPA, check the filename, Bundle ID, version and build number.
- Configure the upload using Settings in the App Store Connect area.
Configure and start uploading
Open settings in the App Store Connect area and configure the target team’s API key; the usage guide explains the fields. Start uploading after configuration and follow progress on a stable connection. Hide credentials before sharing screenshots.
Check the processing result
After completion, check the same version and build in App Store Connect before arranging tests or review. Use the upload troubleshooting guide for failures, or the TestFlight guide when an uploaded build is not visible to testers.